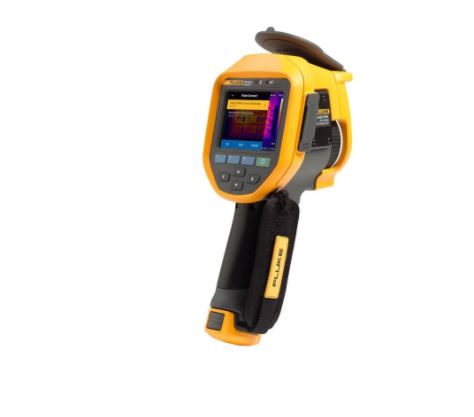
1. Basic structure of infrared
1) Infrared lens: receiving and concentrating infrared radiation emitted by the measured object;
2) Infrared detector assembly: Turn the heat radiation model into an electrical signal;
3) Electronic components: processing electrical signals;
4) display component: converting an electrical signal into a visible light image;
5) Software: Process the collected temperature data and convert it into temperature reading
2.Automatic calibration of the thermal imaging camera
The camera automatically adjusts to compensate for the effect of the change on the accuracy of the detector based on changes in ambient temperature. The process typically lasts 2 to 3 seconds, and the screen stalls and displays “Calibrating”.
3.Preheating before use of the thermal imaging camera
All cameras require sufficient warm-up time to obtain accurate temperature measurements and optimal image quality. Warm-up times typically vary by model and environmental conditions. Although the camera can basically warm up in 3 to 5 minutes, it is best to wait at least 10 minutes if you need to get the most accurate temperature measurement. More warm-up time may be required when moving between environments with large temperature differences.
Thermal imager contrast infrared thermometer, simply put, the thermal imaging camera has the core advantages of being safe, intuitive, efficient and preventing missed detection.
